ExpressionEngineのインストール方法、最新版。とっても気に入ったのでCommercial licenseを購入しちゃいました。mogya.comも乗り換えに向けて作業中。
インストール手順は公式マニュアルがしっかりしているので、これを読めば大丈夫、なはずなのですが、やはり日本語版がないとなかなか大変だと思うので、自分のやり方を説明します。ApacheとmysqlがインストールされたCentOS 4を想定しています。
wizardによる環境チェック
RequirementsにあるWizardをサーバにおいて、ブラウザからアクセスします。
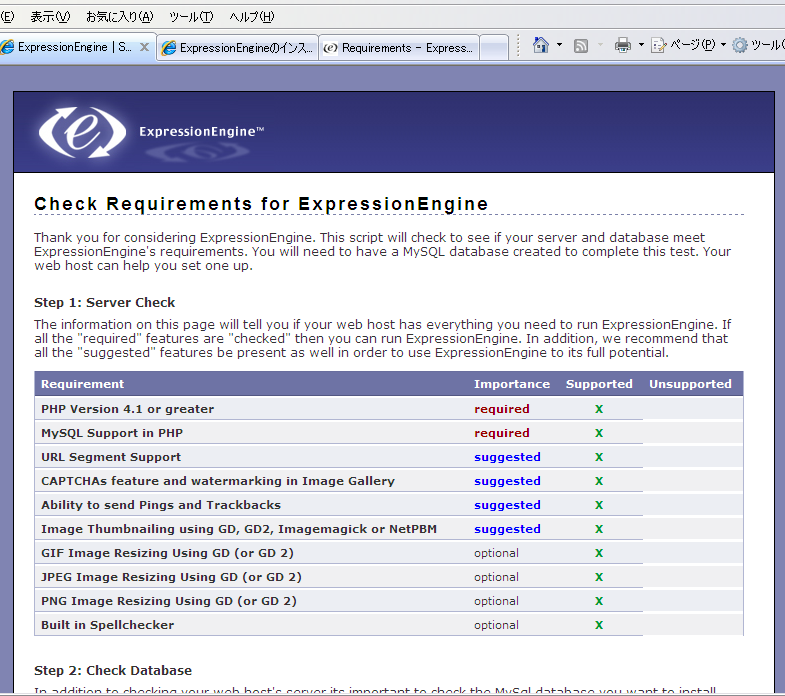
そうすると、足りないものを教えてくれます。自分の場合は全部OKでした。「Supported」にxがつくのはOKの意味なので注意。
DBを作成
[daisuke@macaroni ExpressionEngine]$ mysqladmin -u root -p create expressionengine
Enter password:
[daisuke@macaroni ExpressionEngine]$ mysql -u root -p
Enter password:
Welcome to the MySQL monitor. Commands end with ; or \g.
Your MySQL connection id is 388 to server version: 4.0.25-standard
Type ‘help;’ or ‘\h’ for help. Type ‘\c’ to clear the buffer.
mysql> GRANT SELECT, INSERT, UPDATE, DELETE, CREATE, DROP, INDEX, ALTER, CREATE
-> TEMPORARY TABLES, LOCK TABLES
-> ON expressionengine.*
-> TO ‘expressionengine’@’localhost’ IDENTIFIED BY ‘*****’;
Query OK, 0 rows affected (0.00 sec)
mysql>
mysql> FLUSH PRIVILEGES;
Query OK, 0 rows affected (0.01 sec)
mysql> exit
Bye
DBの準備が出来たら、Wizardの「check your MySQL settings now.」に進みます。
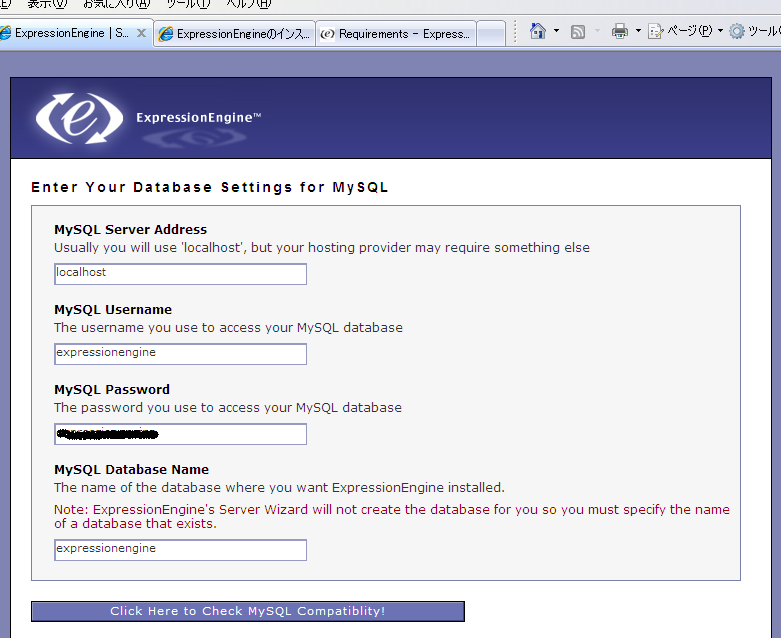
DBのデータを入力して「Click Here to Check MySQL Compatiblity!」を押すと、DBへの接続がチェックされます。
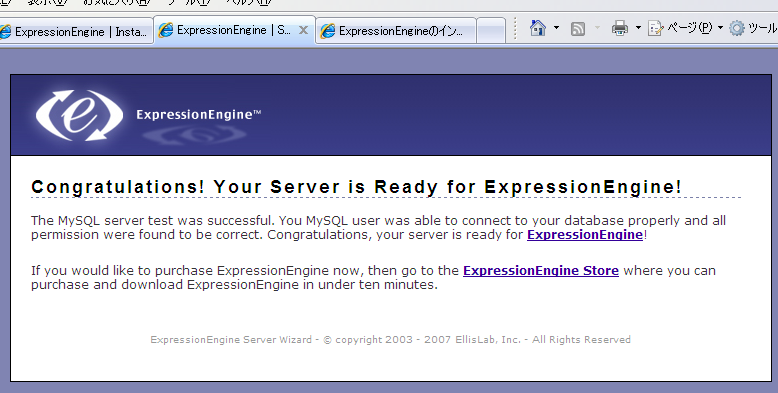
「Congratulations! Your Server is Ready for ExpressionEngine!」が出てきたら準備OKです。
expressionEngineのインストール
Downloads & Support | ExpressionEngine Storeのページから、「ExpressionEngine Core」をダウンロード。
<
h3>アップロードする。
[daisuke@macaroni EECore1.6.1]$ sudo mkdir /home/httpd/html/ee/
Password:
[daisuke@macaroni EECore1.6.1]$ sudo cp -r ./* /home/httpd/html/ee/
[daisuke@macaroni EECore1.6.1]$ cd /home/httpd/html/ee/
[daisuke@macaroni ee]$ ls
READ_THIS_FIRST.txt build_log.txt index.php license.txt themes
system images install.php path.php
[daisuke@macaroni ee]$ sudo rm *.txt
[daisuke@macaroni ee]$ sudo rm -rf system/update*
パーミッションの設定
[daisuke@macaroni ee]$ sudo chmod 666 path.php
[daisuke@macaroni ee]$ sudo chmod 666 system/config.php
[daisuke@macaroni ee]$ sudo chmod 666 system/config_bak.php
[daisuke@macaroni ee]$ sudo chmod 777 images/avatars/uploads/
[daisuke@macaroni ee]$ sudo chmod 777 images/captchas/
[daisuke@macaroni ee]$ sudo chmod 777 images/member_photos/
[daisuke@macaroni ee]$ sudo chmod 777 images/pm_attachments/
[daisuke@macaroni ee]$ sudo chmod 777 images/signature_attachments/
[daisuke@macaroni ee]$ sudo chmod 777 images/uploads/
[daisuke@macaroni ee]$ sudo chmod 777 system/cache/
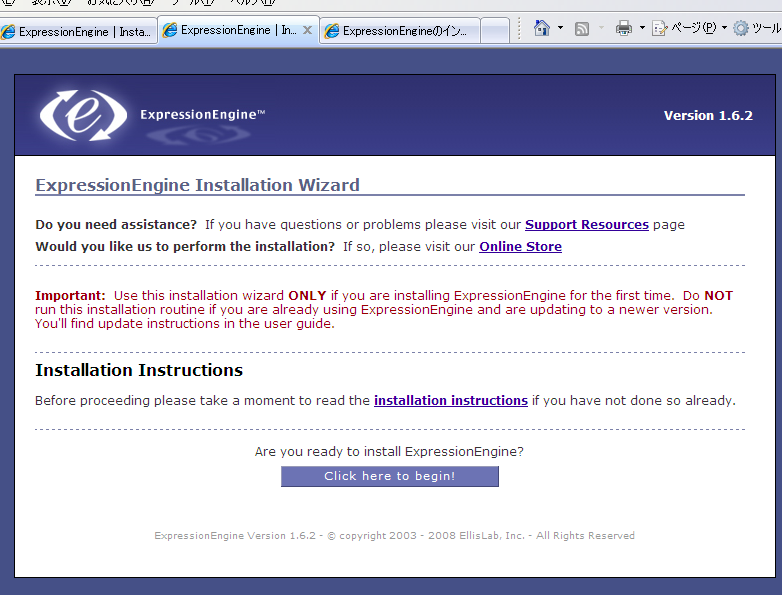
ExpressionEngineをインストールしたディレクトリにあるinstall.phpにブラウザでアクセス
設定作業
Are you ready to install ExpressionEngine? Click Here to begin! のところをクリックしてインストールを開始します。
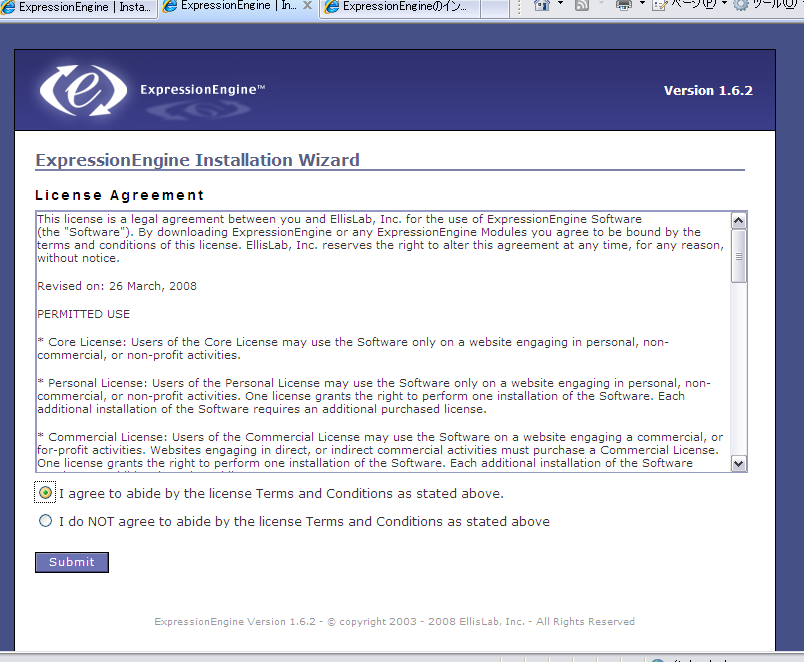
ライセンス。読んで同意したら、「I agree to abide…」にチェックを入れて、submitを押します。
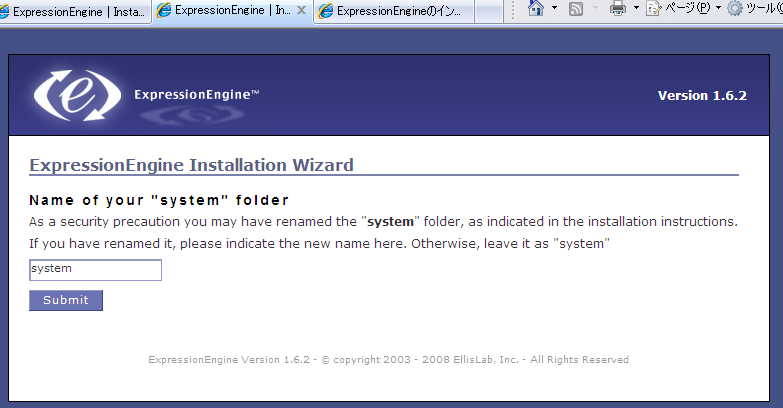
systemフォルダの名前。これは何かというと、expressionEngineを使って記事を書くときは、コントロールパネルというので記事を書くのですが、そのフォルダの名前です。べつにsystemのままでもかまわないのですが、「あ、こいつexpressionEngine使ってるぜ。ということはwww.example.com/systemにいって….」というようなイタズラを防ぐためには、適当な名前に変えておくのがよいようです。今回の説明では、そのままにして「submit」を押すことにします。
Enter Your Settings で各パラメーターを入れます。
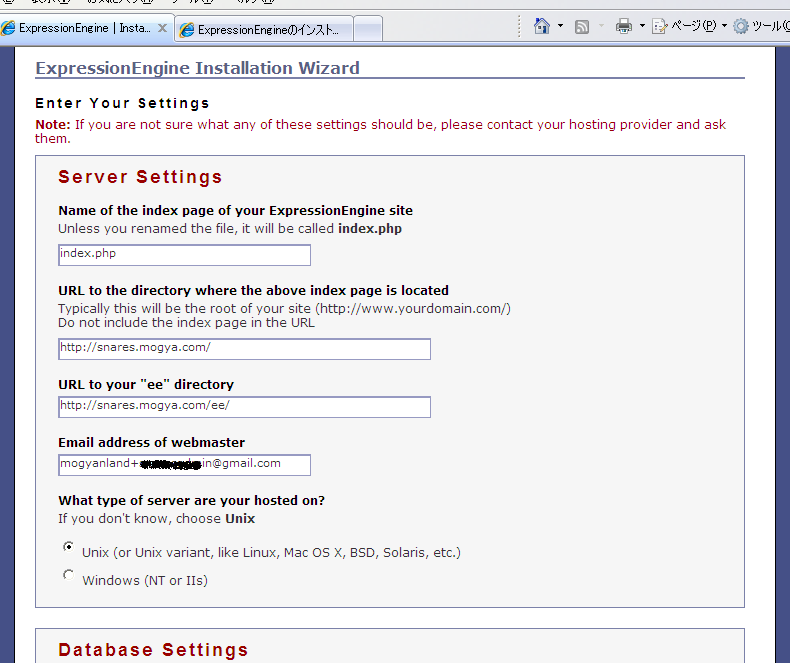
サーバの設定。自分のWEBサイトのドメイン名とかです。
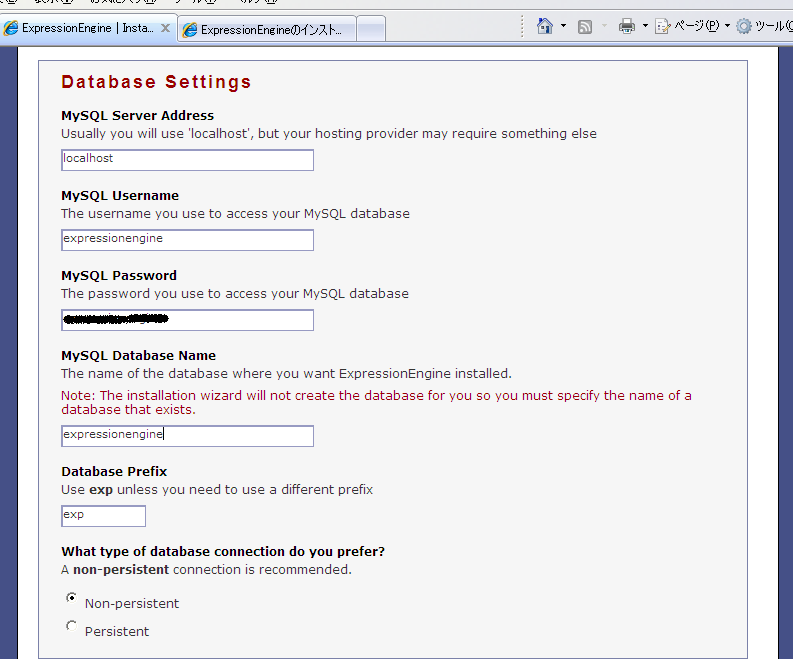
DBの設定。ここはさっきwizardで入れたのと同じで大丈夫。
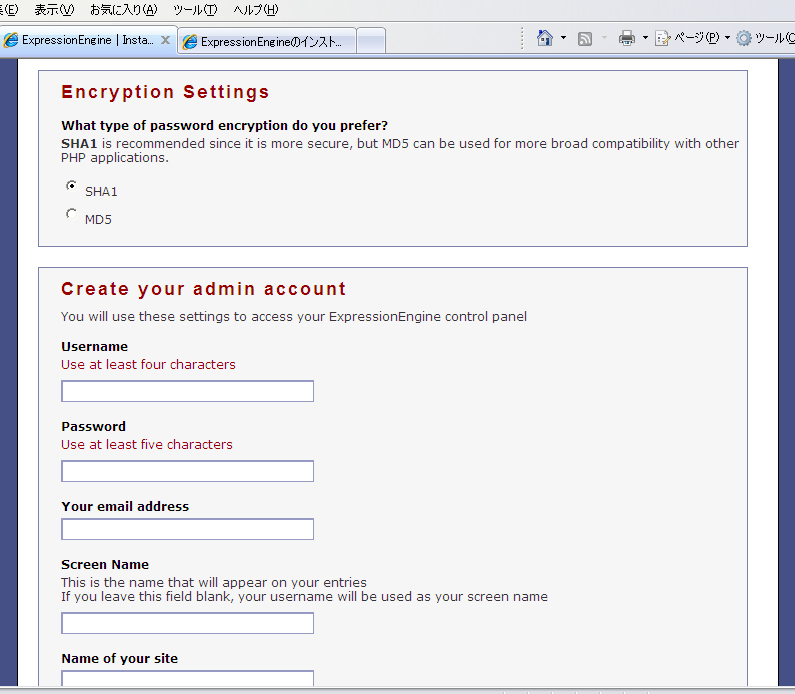
EncryptionSetting。そのままで大丈夫なはず。
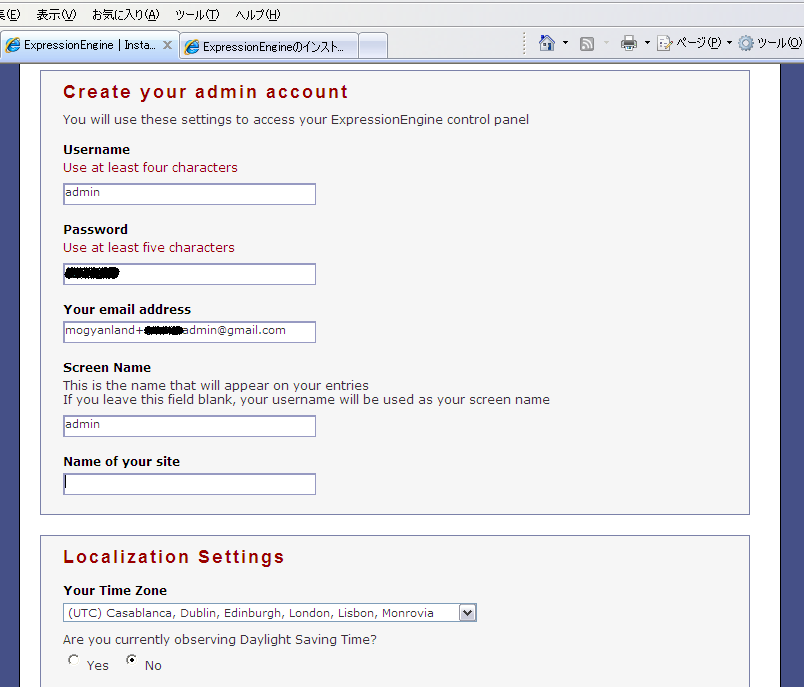
adminアカウント。自分のアカウントはあとで作ればいいので、ここはadminとかrootとか、そんな名前をオススメです。name of your siteも一応書いておかないとinstall.phpは文句言うみたいですので、適当に書いておきましょう。
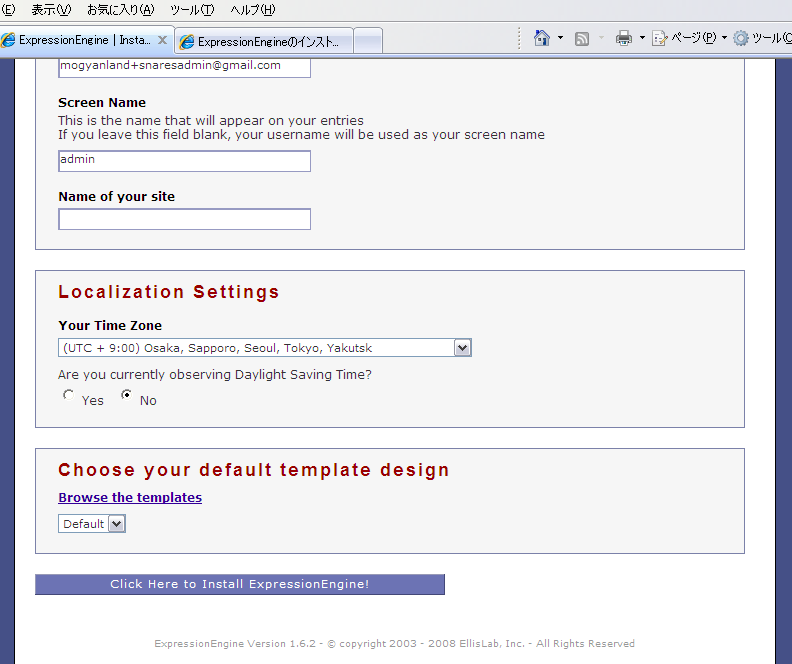
Localization Setting と、Thema。timezoneは utc+9、あとはそのままで大丈夫なはずです。
ExpressionEngine has been successfully installed!
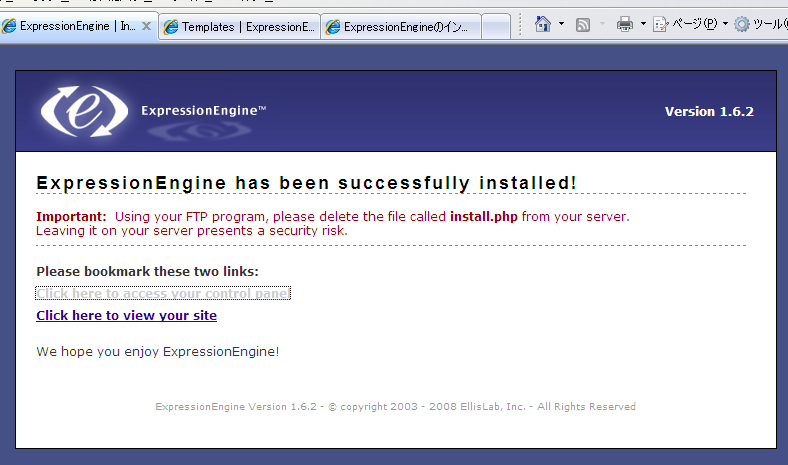
できあがり~。おつかれさまでした。
install.phpはもう使わないので削除してしまいましょう。
Click here to access your control panelでコントロールパネルが見えます。